 International
 Singapore
 Malaysia
 Thailand
 Vietnam
Your shopping cart is empty!
")
Getting Started with IOIO (Part 1)
- Idris Zainal Abidin
- 30 Jan 2014
- 579
*Note: This tutorial will cover on IOIO V1.
INTRODUCTION
The IOIO (pronounced "yo-yo") is a board that provides a host machine the capability of interfacing with external hardware over a variety of commonly used protocols. The original IOIO board has been specifically designed to work with Android devices. The IOIO board can be connected to its host over USB or Bluetooth, and provides a high-level Java API on the host side for using its I/O functions as if they were an integral part of the client. In short, IOIO is like an extended I/O pins for your Android phone and you are not required to do any sort of embedded programming. Honestly, this board is very advantage for those who have knowledge in Java + Eclipse + Android. But don't worry, this tutorial will guide you to setup the software and only go over writing a simple Java app using the IOIO library. There is another tutorial here: Getting Started with IOIO (part 2), using Bluetooth Dongle to create Bluetooth link with Android phone and perform a simple test.
IOIO HARDWARE

In general, IOIO board contains the following components (for more detail, you can click on the image):
1. Type A female USB connector - Used to connect to the Android device.
2. GND pins - Ground connection.
3. VIN pins - Used for power supply to the board. Voltage between 5V-15V should be supplied.
4. 5V pins - Normally used as 5V output when the board is powered from VIN. Can be used as 5V input in case VIN is not connected.
5. 3.3V pins - 3.3V output.
6. I/O pins - General purpose I/O pins. Some have special functions.
7. power LED - Lights when the IOIO is getting power.
8. stat LED - Lights briefly during power-up and then becomes under application control.
9. mclr pin - Not normally used. Its purpose is for programming new bootloader firmware on the IOIO board.
10. Charge current trimmer (CHG) - Adjusts the amount of charge current supplied on the VBUS line of the USB to the Android device. Turning in the (+) direction increases charge current.
HARDWARE PREPARATION
1. Android device with OS 2.0 or greater (latest OS is better).
2. IOIO board with latest support firmware (bootloader).
3. USB cable that is support with your Android device.
4. 5-15V power supply.
SOFTWARE SETUP
There are 3 important software that you need to install:
1. Java Development Kit (JDK).
2. Eclipse IDE.
3. Android SDK. You can download JDK here.
For Eclipse IDE and Android SDK, you can download a bundle here, which include these 2 software. You can choose either 32-bit or 64-bit. In my case, I choose 32-bit even my laptop running Windows OS with 64-bit.
Install the JDK and restart the PC if needed. Unzip your ADT bundle, then open the Eclipse IDE (adt-bundle-windows-x86-XXXXXXXX > eclipse > eclipse.exe). If fail, most propably your software cannot detect the JDK. So my advice, make sure this work first before going further.
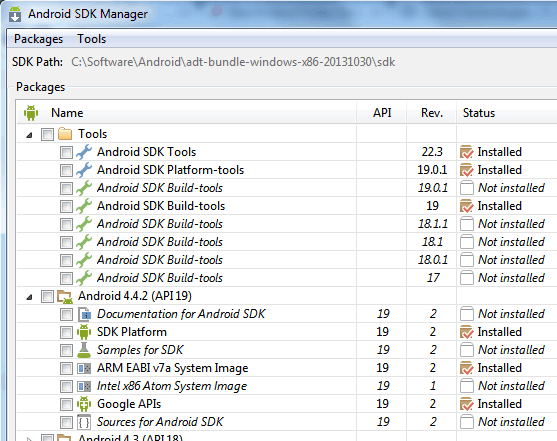
Then you need to install the SDK components relevant to the Android device you will be working with (adt-bundle-windows-x86-XXXXXXXX > SDK Manager.exe).
IOIO LIBRARIES
Before start with Android programming, you need to download the IOIO libraries here. Go to "Client Software and IOIO Application Firmware Images", download libraries version which suite with your IOIO bootloader version. For example, I'm using IOIO libraries 330 "App-IOIO0330.zip" and IOIO bootloader 3.11 + App V4.00 "Boot-IOIO0311-App-IOIO0400.zip". Unzip the downloaded package into a safe location where you want to keep your project files.
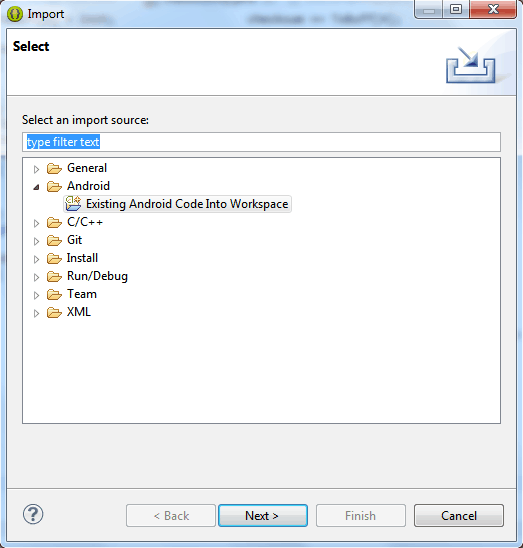
Next, open Eclipse, go to File > Import, and select Existing Android Code Into Workspace. Click Next.
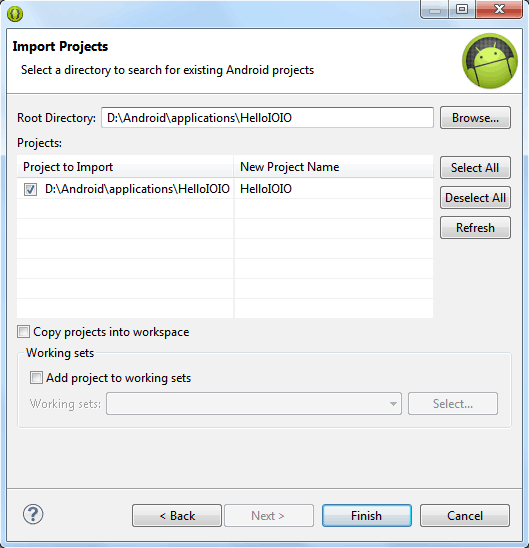
Click Browse and navigate to the file you just unzipped and point to the HelloIOIO folder found in .../applications/HelloIOIO. Be sure the check box under Project to Import is selected. Now hit Finish.
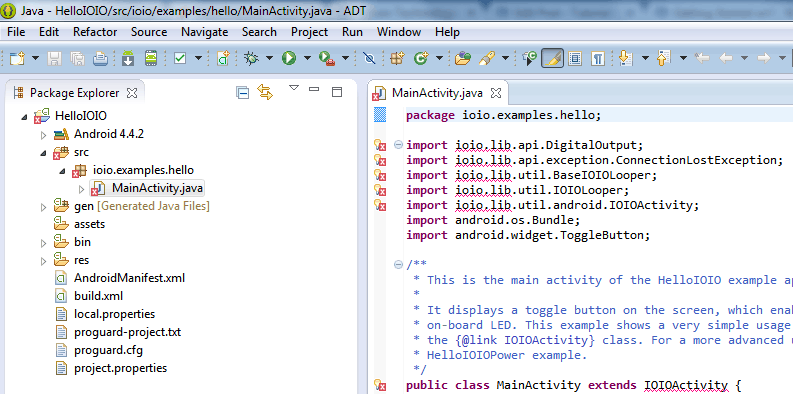
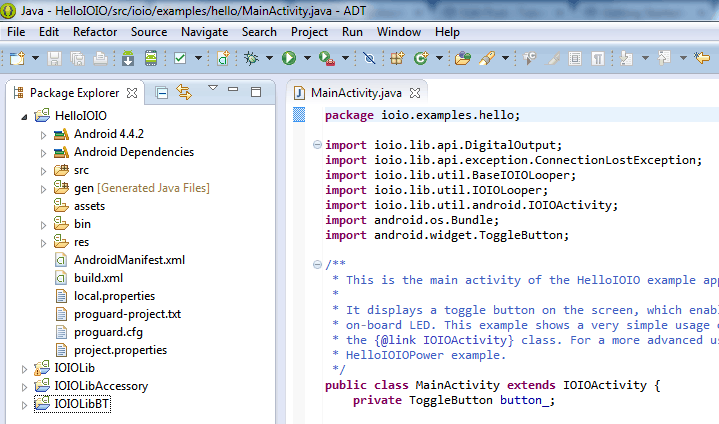
Now, you should see HelloIOIO under your Package Explorer. If you notice, there have an error on the MainActivity.java because it can't find the ioio.lib. So you need to import the IOIO library by repeating the method above but navigate/point to the library folder.
After finish import all the library given, it should be no error.
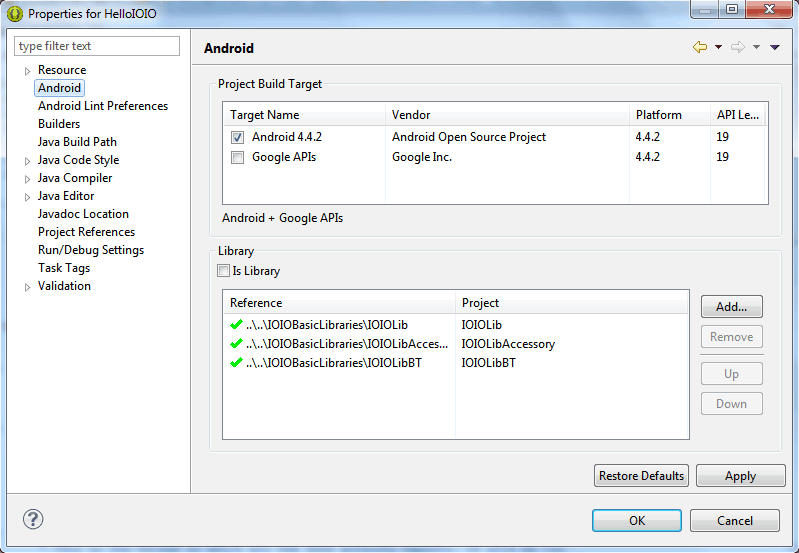
If there still have an error, go to HelloIOIO (right click) > Properties > Android. Add corresponding library.
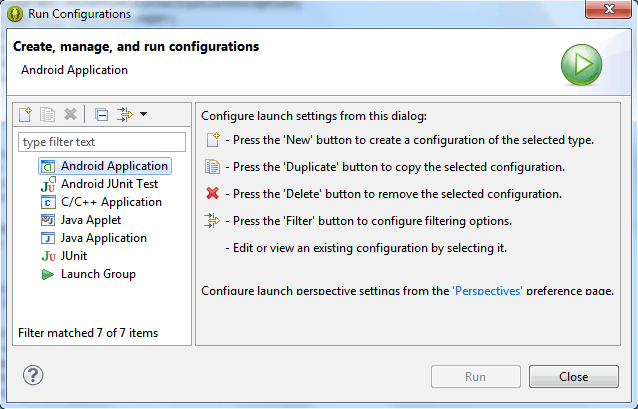
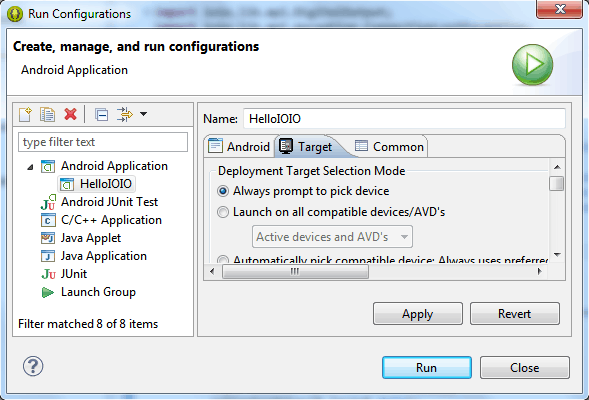
Now, it is time to build the code and run into your Android phone. You can set the target selection mode. Go to HelloIOIO (right click) > Run As > Run Configurations... Select Android Application and press New.
Under Android tab, write Android Applcation Name and browse to your project. Click Apply.
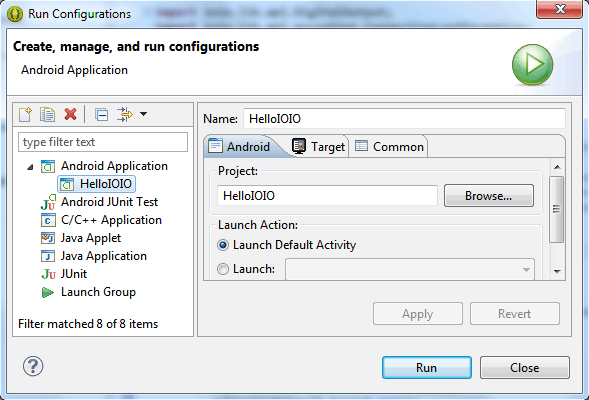
Under Target tab, tick on Always prompt to pick Device. Then, hit Apply and Run.
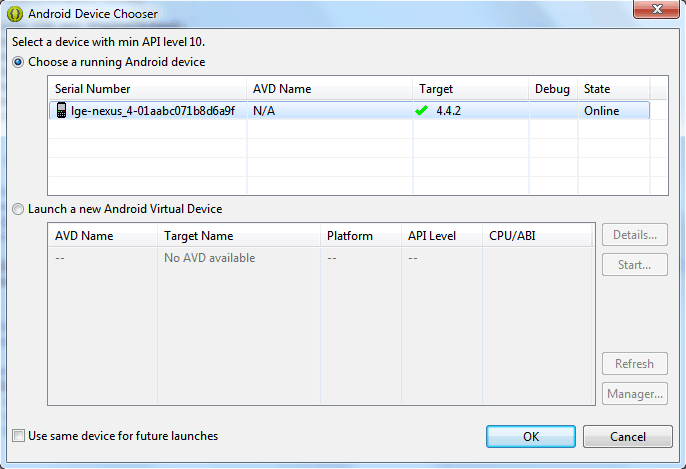
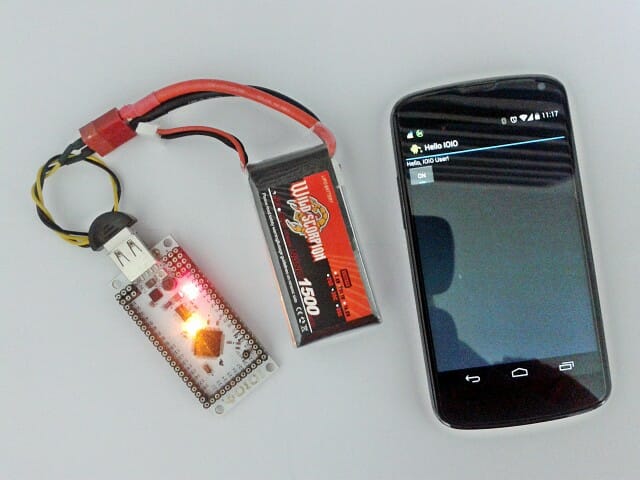
Make sure your phone is connected to the PC and have been identified (enable USB Debugging). Select on the device and click OK. In this example, I'm using Nexus 4 with Android OS 4.4.2.
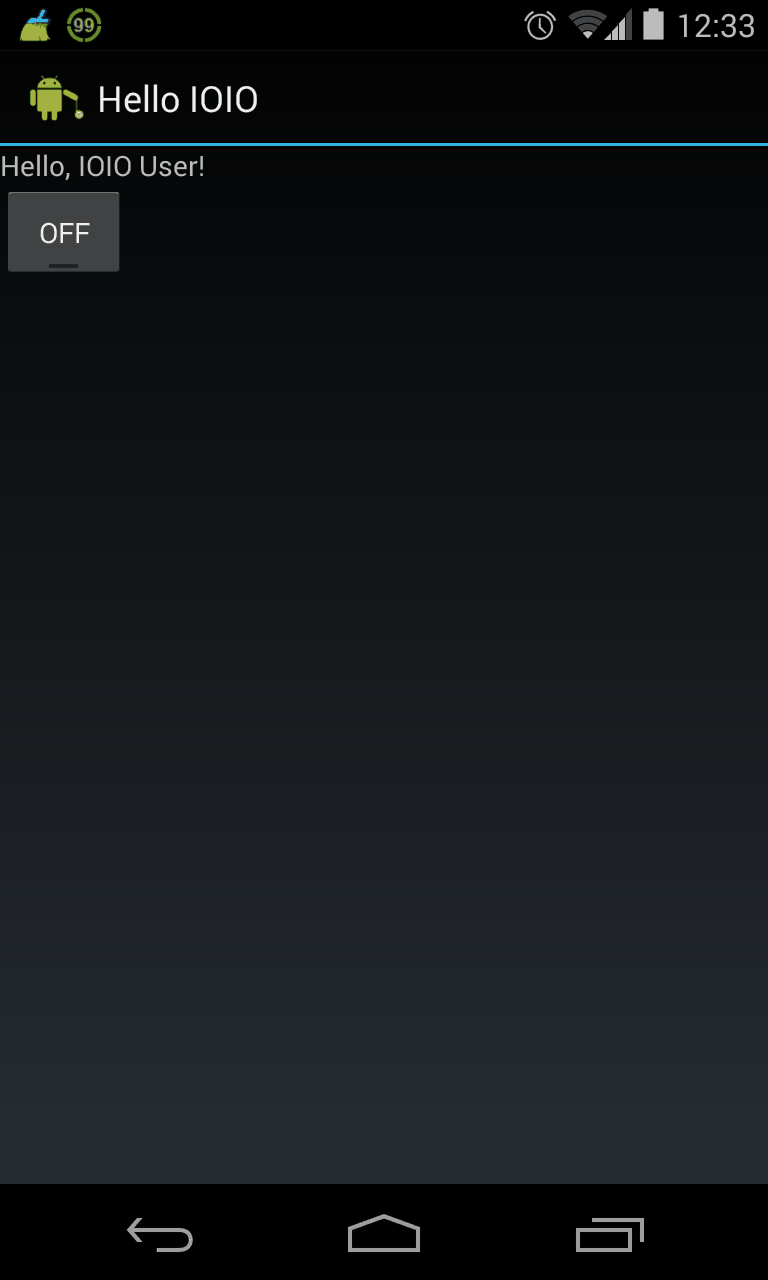
If successful, the apps will automatic run in your phone. This is a screenshot from my phone.
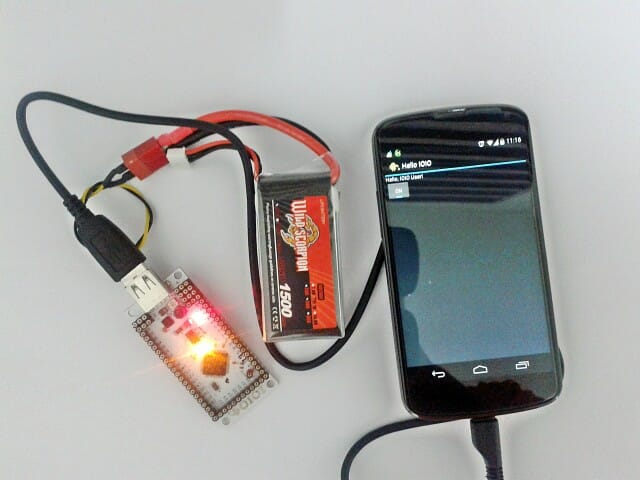
Lets connect to the IOIO board and see the result. You can connect either using USB cable or bluetooth dongle.
Ok, that's all. If you have any problem/suggestion, please leave a comment. Good Luck! :)
REFERENCES
1. https://www.sparkfun.com/tutorials/280
2. https://github.com/ytai/ioio/wiki
3. Hello IOIO video