 International
 Singapore
 Malaysia
 Thailand
 Vietnam
Your shopping cart is empty!
")
Raspberry Pi + Processing + CT UNO (Part 2)
- Idris Zainal Abidin
- 07 Nov 2014
- 409
Credit to Stewart C. Russell for the tutorial PROCESSING 2.1 + ORACLE JAVA + RASPBERRY PI + SERIAL + ARDUINO = :D.
About this tutorial:
– Re-writing the original tutorial from Stewart C. Russell with some modification.
– Raspberry Pi + Processing 2.2.1 + Oracle Java 1.7.0 + jSSC 2.8.0 + CT UNO (Arduino Uno compatible).
HARDWARE
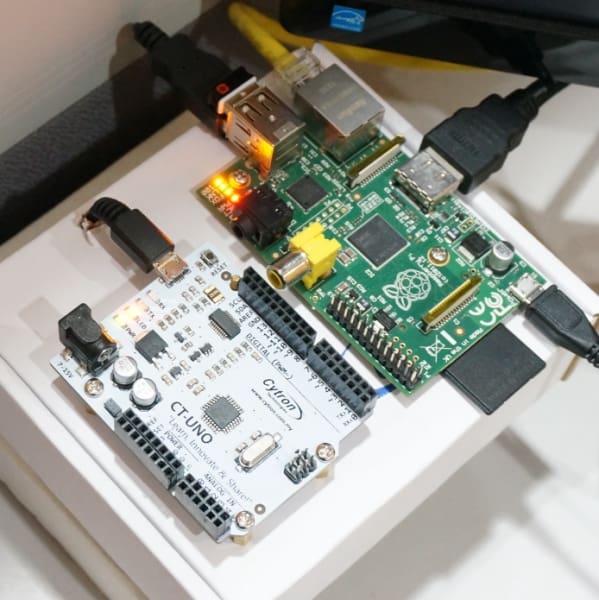
Note: Please refer to Part 1 first.
ARDUINO IDE
18. Since I want my RPi communicate with CT UNO, I need to install Arduino IDE (for RPi).
sudo apt-get install arduino
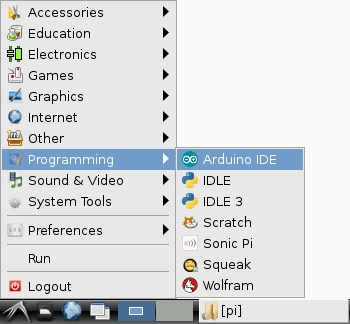
19. After installation complete, you can open Arduino IDE at Start – Programming – Arduino IDE
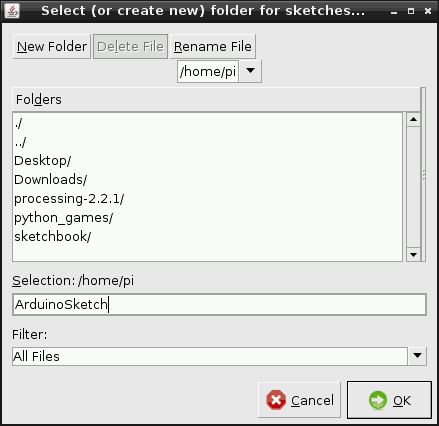
Create new folder for arduino sketch.
20. Don’t forget to connect CT UNO to your RPi. Follow the steps below:
– Go to File – Examples – Firmata – StandardFirmata.
– Select your board, go to Tools – Board – Arduino Uno.
– Select your serial port, go to Tools – Serial Port – /dev/ttyUSB0.
– Then, upload code to CT UNO.
– Close Arduino IDE.
PROCESSING ARDUINO FIRMATA
21. Download Arduino Firmata library for Processing here (https://github.com/firmata/processing). Click onDownload ZIP.
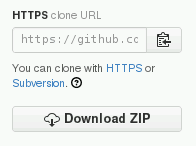
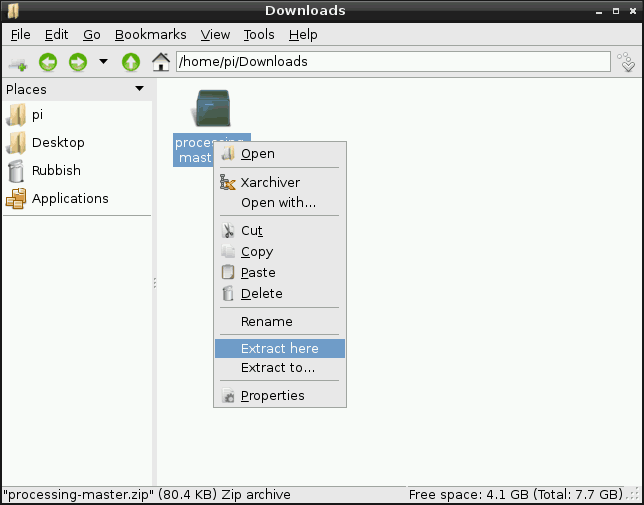
After download is complete, go to Downloads folder, extract processing-master.zip and then you will get processing-master folder.
22. Inside processing-master folder, there have processing-arduino.zip. Copy that file and paste to home directory. Extract it into your Processing sketchbook:
unzip processing-arduino.zip -d ~/sketchbook/libraries/
23. For tedious reasons, you also have to rename one of the files:
mv ~/sketchbook/libraries/arduino/library/Arduino.jar ~/sketchbook/libraries/arduino/library/arduino.jar
24. Open Processing, write following code and run.
import processing.serial.*;
import cc.arduino.*;
Arduino arduino;
int ledPin = 13;
void setup()
{
println(Arduino.list());
arduino = new Arduino(this, Arduino.list()[0], 57600);
arduino.pinMode(ledPin, Arduino.OUTPUT);
}
void draw()
{
arduino.digitalWrite(ledPin, Arduino.HIGH);
delay(1000);
arduino.digitalWrite(ledPin, Arduino.LOW);
delay(1000);
}
RESULT
You should see the LED blinking on your CT UNO right? Actually it is RPi controlling the LED on CT UNO through communication (Firmata protocol). If you notice the Tx and Rx LED also flashing shows the communication is in progress.
So, congratulations! You can keep going explore this new excited knowledge. There have more examples in Processing, go to File – Examples – Contributed Libraries – Arduino (Firmata) and play with it.
Last but not least, please don’t forget to “Learn, Innovate & Share” your project with us!
OTHERS
Refer to Stewart C. Russell, he is recommended to use the newest Firmata program for Arduino. You can download it here (https://github.com/firmata/arduino).